

- Click on your profile or workspace menu in the navigation sidebar.
- Select Settings (or press the Settings gear icon).
- Under the Workspace section in the sidebar, choose General.
Workspace General Details
You can view and configure the foundational attributes of your workspace:- Workspace Name: Change your team or company name displayed across the Blame application (max 64 characters).
- Workspace ID: A unique identifier for your workspace. Used when referencing your organization in API requests, integrations, or support inquiries.
- Workspace Logo / Avatar: Upload a custom icon or logo representing your workspace. Supports cropping and automatic thumbnail generation.
Updating Workspace Name & Logo
- In the Workspace Settings panel, click Edit next to the workspace name.
- Enter the new workspace name and click Save.
- To update the logo, click the upload button on the avatar, select an image (
.png,.jpg,.webp), crop as desired, and confirm.
Member Invite & Role Preferences
Admins and Owners can enforce policies regarding how new users are added to the workspace: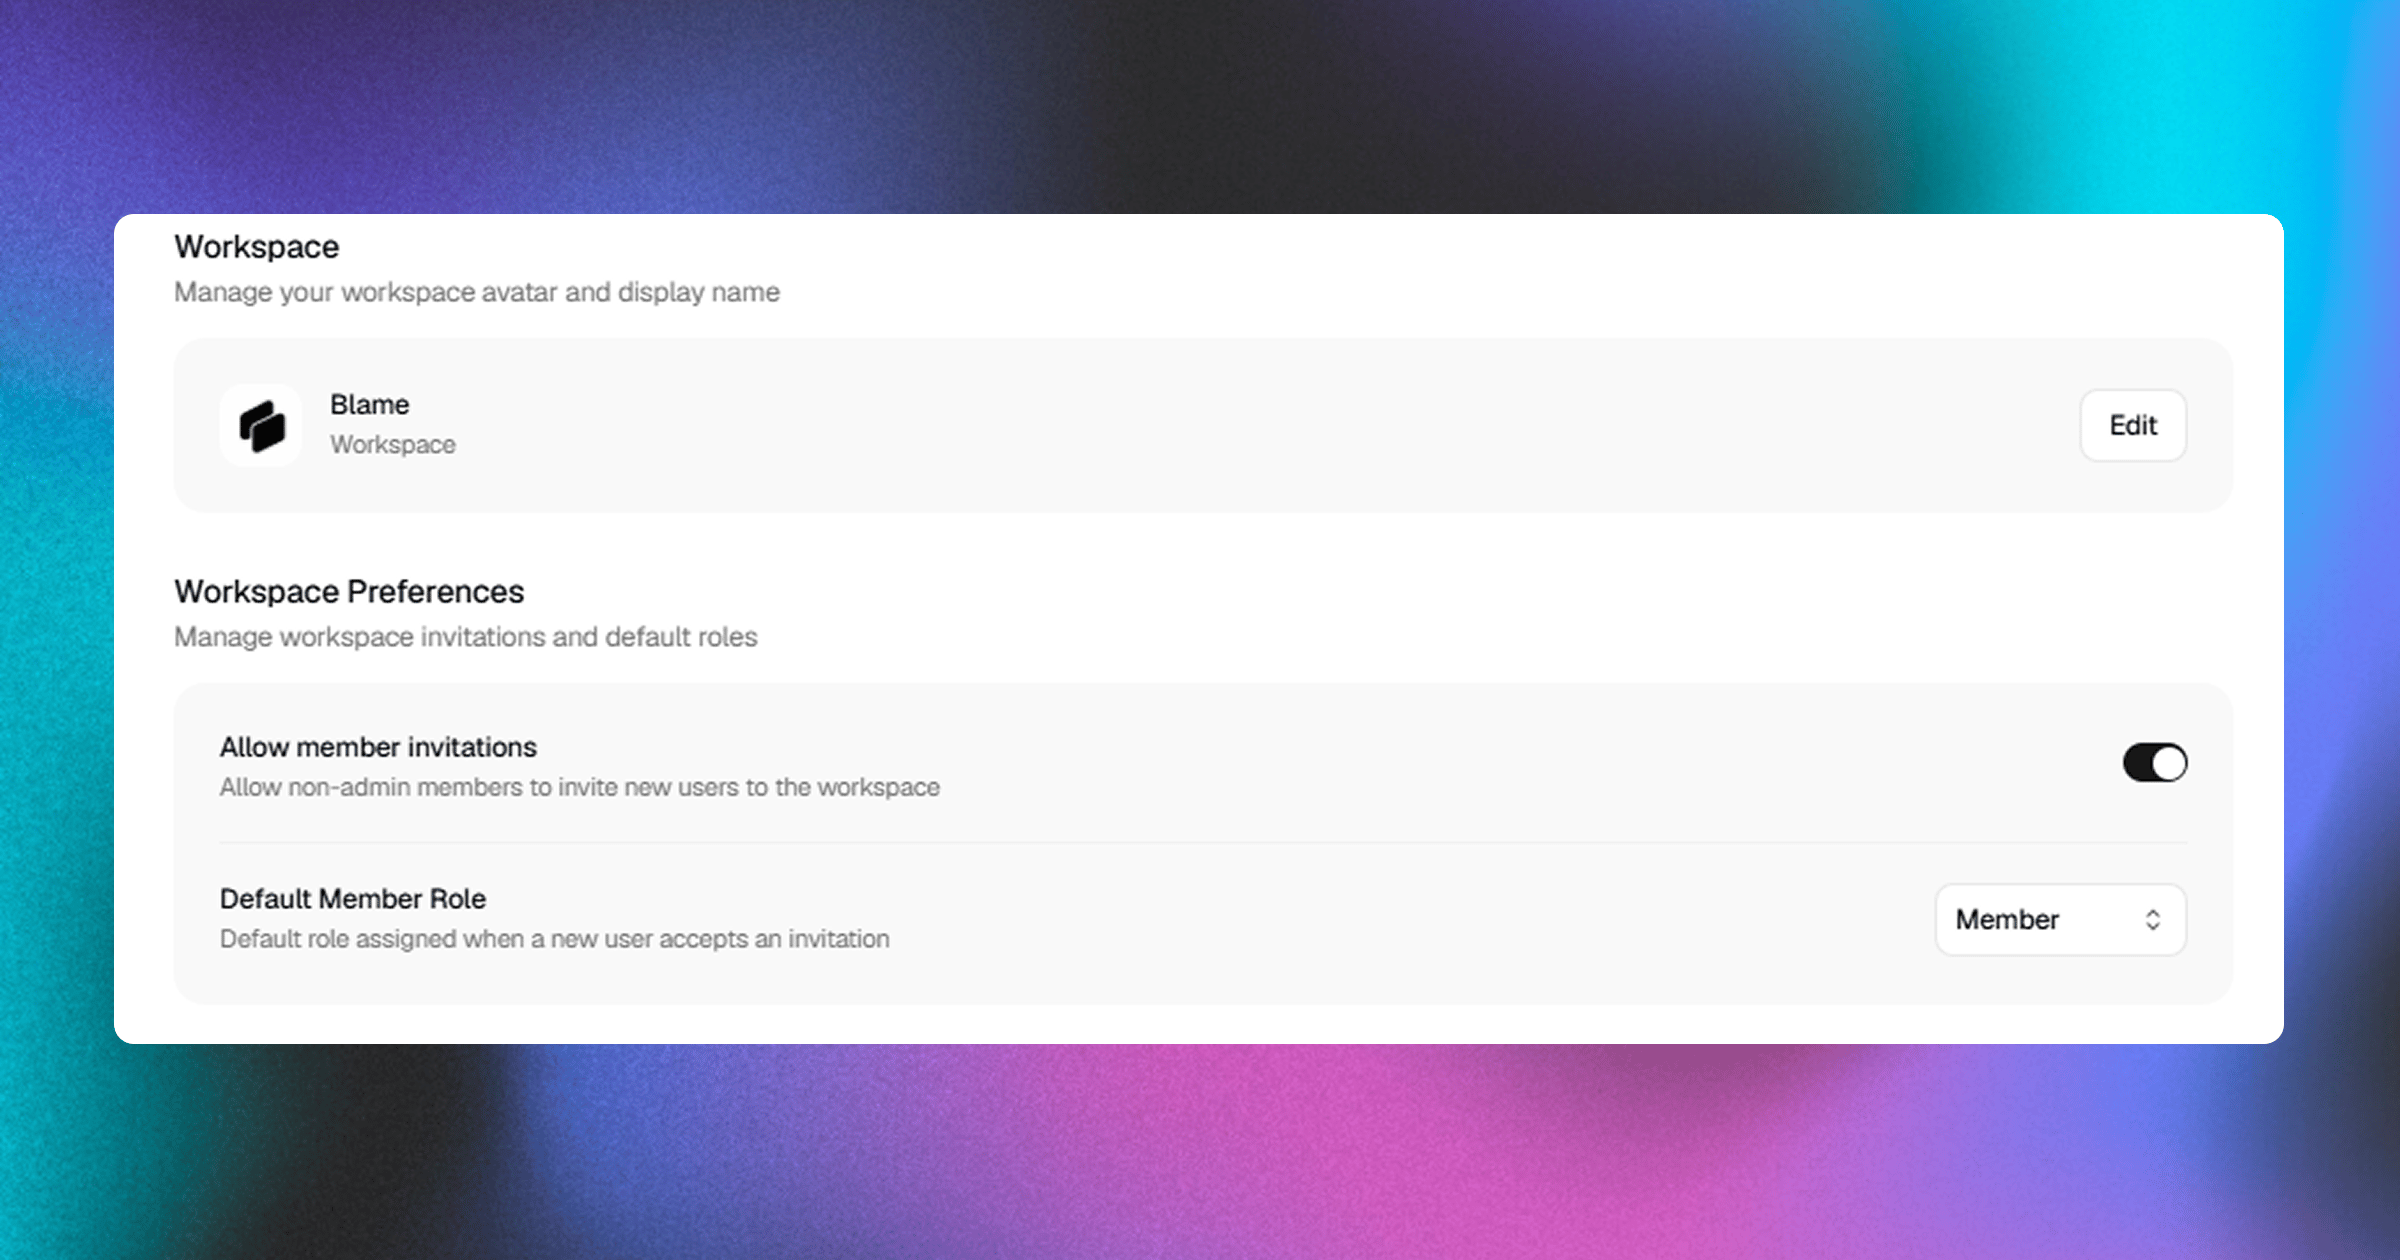
1. Allow Member Invites
- Enabled (Default): Standard members can invite new colleagues to the workspace.
- Disabled: Only workspace Admins and Owners are allowed to generate invite links or send email invitations.
2. Default Role for New Members
Set the baseline permission level granted to new members joining via invite links or team invites:- Member: Standard access (can chat, query codebases, view wikis, and trigger PR reviews).
- Admin: Elevated access (can connect repositories, configure integrations, update settings, and manage API keys).
Pending Invitations
If your user account has received invitations to other workspaces, they will appear in the Invitations section:- Accept: Join the inviting workspace immediately with your assigned role.
- Decline: Dismiss the invitation.
Danger Zone
The Danger Zone includes actions that permanently affect the workspace and its associated data.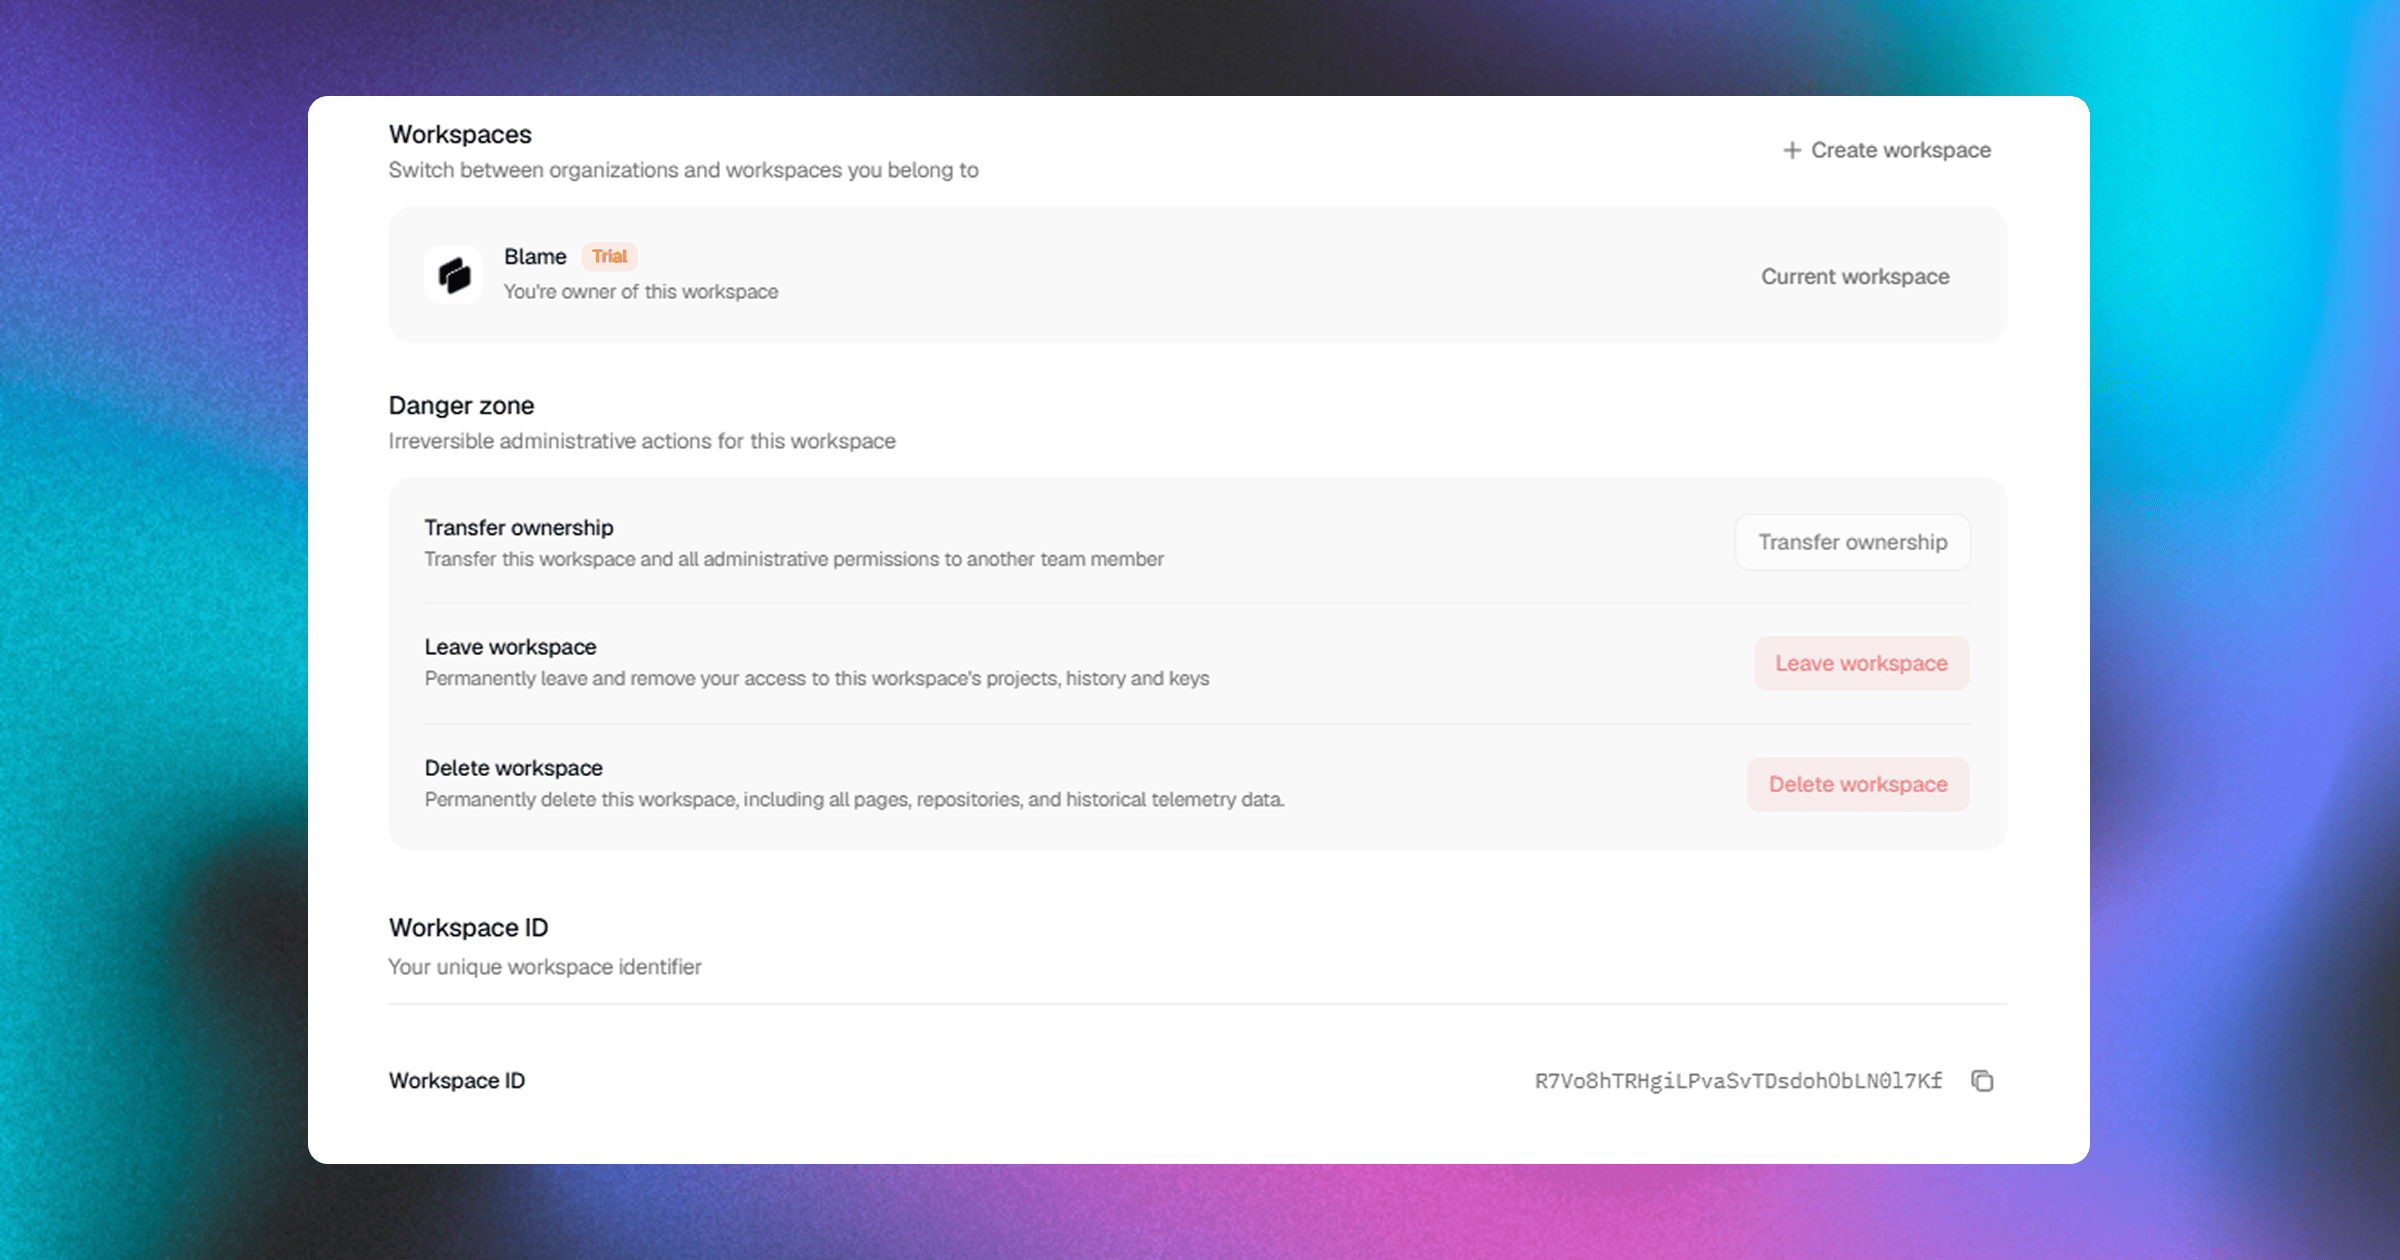
Transferring Ownership
Owners can transfer full primary ownership of the workspace to another existing member:- Click Transfer Ownership in the Danger Zone.
- Select an eligible workspace member from the list.
- Confirm the transfer.
Leaving a Workspace
If you are a member or admin and no longer need access to a workspace, you can leave it at any time:- Scroll to the bottom of the Workspace Settings tab.
- Click Leave Workspace.
- Type the confirmation text prompted in the dialog and click Confirm Leave.
For Workspace Owners: You cannot leave a workspace if you are the sole Owner. You must first transfer ownership to another team member or delete the workspace.
Deleting a Workspace
Deleting a workspace permanently removes all associated data, including:- Indexed repository ASTs, code embeddings, and metadata.
- Chat history, agent execution logs, and custom rules.
- Automated PR review configurations and generated wikis.
- Workspace API keys, webhooks, and integrations. To delete a workspace:
- Click Delete Workspace in the Danger Zone.
- Type the exact workspace name into the confirmation field.
- Click Permanently Delete.
Related Guides
- Workspaces Overview — High-level architecture, hierarchy, and roles.
- Members & Permissions — Managing team members and granular role capabilities.
- API Keys — Managing workspace-scoped authentication keys.